iman29
Well-Known Member
Now I need to go check how mine is plugged in thanks.yes. They are an exception. Should be a single outlet receptacle


Now I need to go check how mine is plugged in thanks.yes. They are an exception. Should be a single outlet receptacle
Today's project - clean up the f'in mess.
i didn't notice the sump pump was plugged into a gfi slave outlet. of course it popped just at the right time
while the water softener was rinsing........

That's how I felt about the one on Rt22 in Watchung. Was my first real job after my paper route, tagging prices on items. Btw, can you still get your broken Craftsman hand tools replaced? Have a few rachets which are not working right.

Ok I give up what is that. ? Car part ?
Nope...that looks like the spider arm on the back of the drum for a washing machine ... What say you @Karate Monkey ?Ok I give up what is that. ? Car part ?
Nope...that looks like the spider arm on the back of the drum for a washing machine ... What say you @Karate Monkey ?
Nice...ask me how I know lolIndeedlydoo. Turned into a 4 hour job due to the state of the insides--once we finally got in--but it works like a charm, now. Replaced all the seals while we were in there...If Motorex is good enough for a super bike, it'll work here.


Catching up on some more projects...
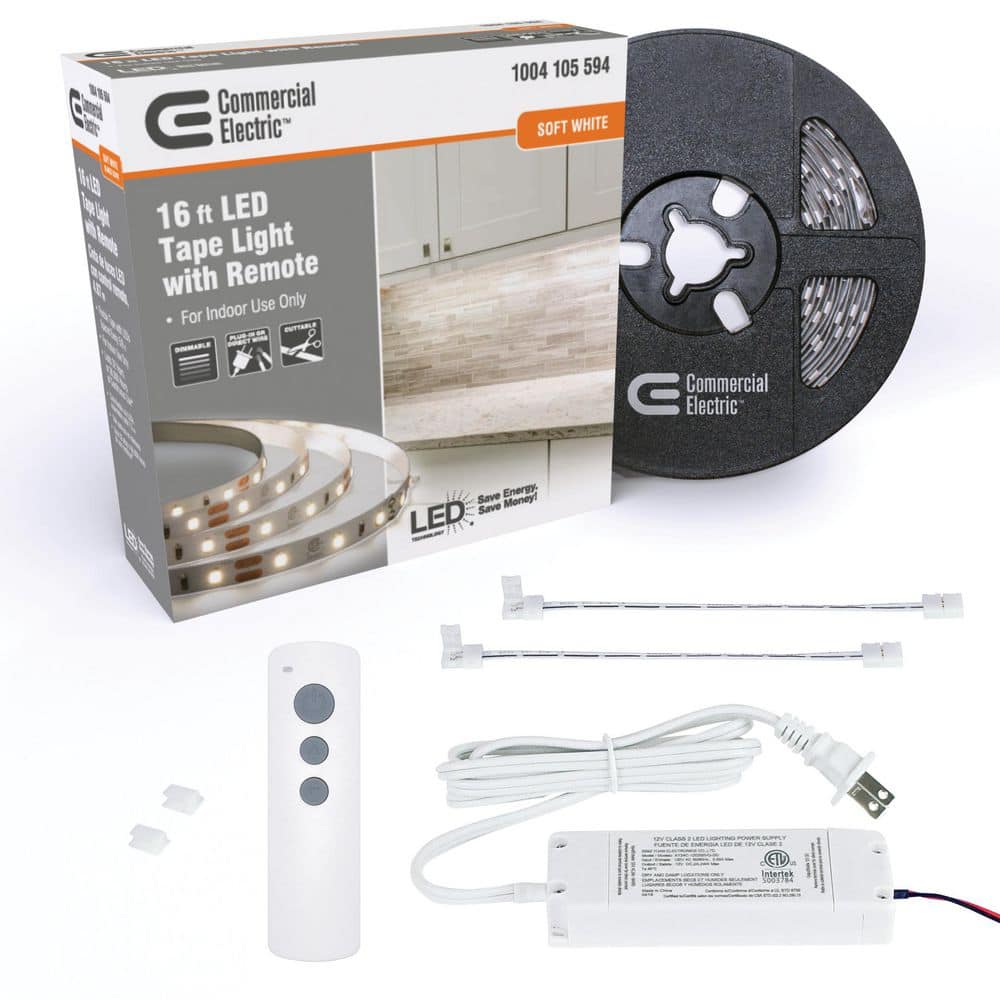
The task lighting in my kitchen has always been crap, just a single fluorescent fixture over each side of the kitchen. One of them finally crapped out, so I had an excuse to update. After a bit of research, I found HD had a pretty inexpensive tape light setup:
Commercial Electric 16 ft. White Indoor LED Tape Light w/remote (Plug-in or direct wire) 142130 - The Home Depot
Update your home with this Commercial Electric White Indoor LED Tape Light w remote.www.homedepot.com
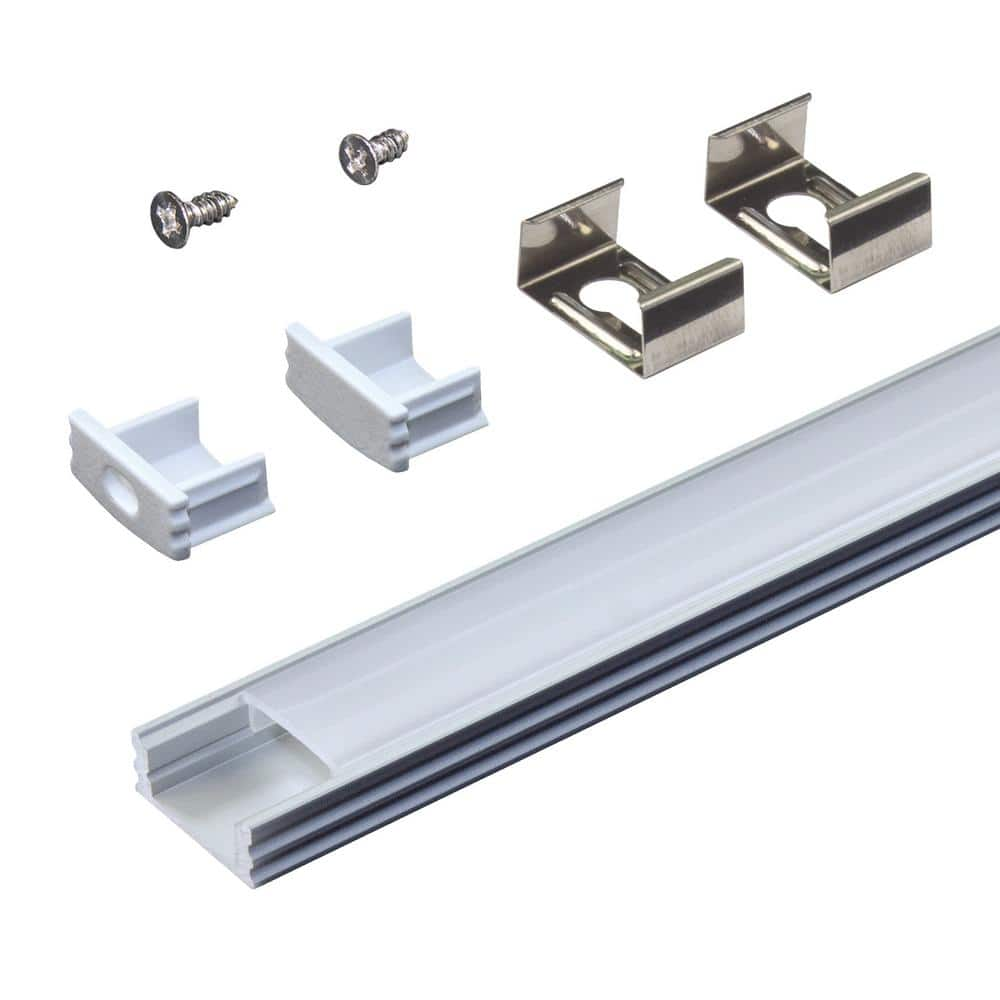
I suspected it was manufactured by Armacost, which was confirmed when the box arrived with Armacost as the return address. I also found this Armacost channel and diffuser kit, and for an extra $25 I went for it. My cabinets are old, and the likelihood of the tape light adhesive sticking to them log term was low, so then diffuser kit solved that:
Armacost Lighting Surface Mount LED Tape Light Channel, Silver (5-Pack) 960050 - The Home Depot
Update your home with the help of this affordable Armacost Lighting RibbonFlex Aluminum LED Tape Light Flat Channel and Diffuser System Mounting Hardware.www.homedepot.com
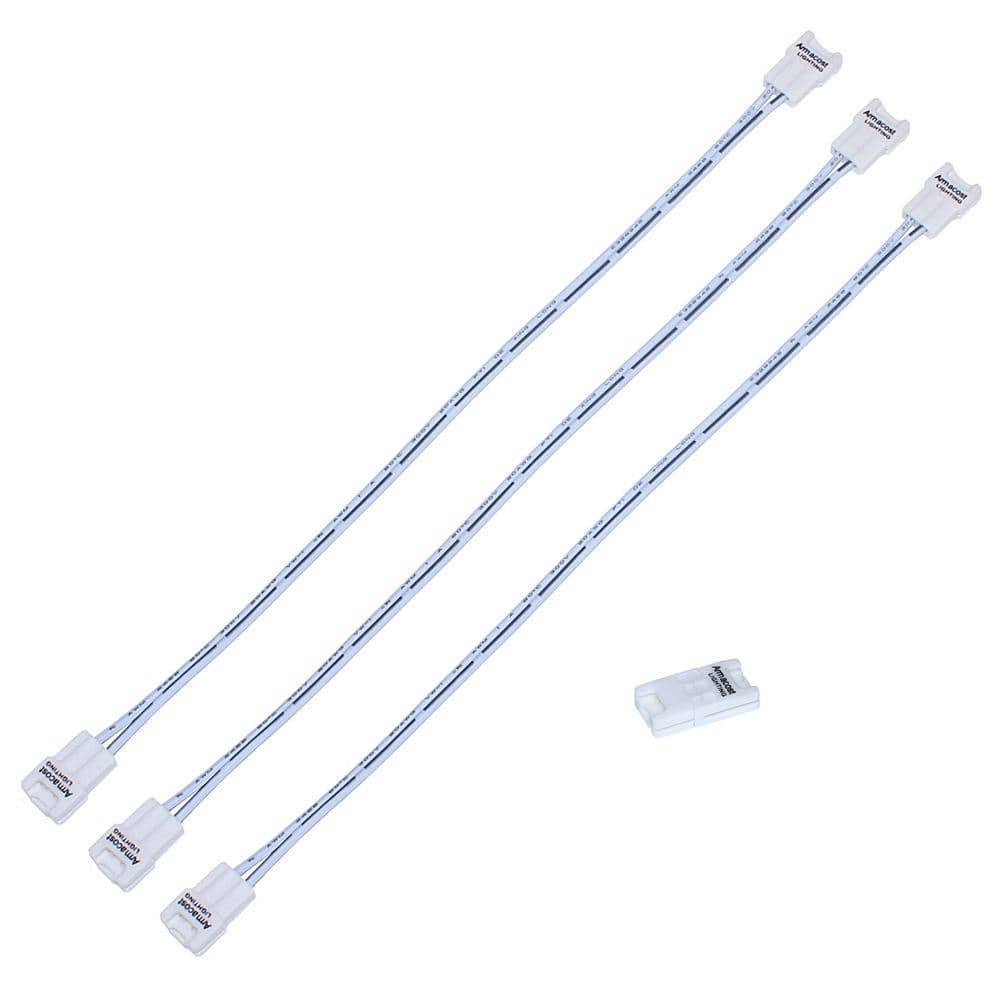
Add some extra connectors for good measure:
Armacost Lighting White LED Tape Light SureLock Connector Assortment Pack 560010 - The Home Depot
Easily connect Ribbon Flex Pro White LED tape light strips together using Armacost Lighting White LED Tape Light Snap Connector Assortment Pack.www.homedepot.com
The install was pretty straightforward:
I was going to shorten the wire from the power supply, but I ran out of steam and just decided to zip tie it and be done. I need to get some screw in wire clips to hold the wires in place. The included stick-ons are not going to last with the amount of instant pot cooking we do.
- Measure and cut the tape, channel, and diffuser cover.
- Connect up the tape strips (I mounted 3 separate sections) using the included connectors
- Lay it all out and test
- Stick the tape to the channel
- Hand wire the power supply
- Mount it all up under the cabinets
- Manage the wires.
Light kit
View attachment 124181
Channel and diffuser kit (missing the diffuser in this pic)
View attachment 124182
How to hacksaw outdoors when your toddler is asleep
View attachment 124183
Tape in the channel
View attachment 124184
All done
View attachment 124185
Thinking about doing this myself as well. Is that the 60 LED strip or the 120? Is it bright enough?
60, and they are plenty bright. I might even dim them a step or 2 since the the power supply is dimmable via include remote. Thankfully it remembers the last setting, so if you hard wire it you can toss the remote in a drawer and forget it.
One thing that's slightly annoying is a ~1-2 second delay in the lights turning on when you hit the wall switch. Not sure if that's due to a cheap power supply since it's an inexpensive kit, but it's worth mentioning.
cause you are switching the input to the power supply, rather than the output.
worth it for $$...
Does this go away with a higher quality power supply? This is my first foray into DC leds.


