


You are using an out of date browser. It may not display this or other websites correctly.
You should upgrade or use an alternative browser.
You should upgrade or use an alternative browser.
The DIY thread - DIYourself
- Thread starter rlb
- Start date

First hitch receiver install without @Glenn Rides After 4 PM CST. Takes a bit longer than the frame rail type, but I don't have to get on my back either.


serviceguy
Well-Known Member
3/4 copper goes to the pressure reducer, 1/2 blue pex goes directly to the tap outside for the garden hose. I maybe adding a valve to shut that one off separately from the rest of the house, but seems like a waste of a valve since I would have to crawl all the way down there just to shut it off. The original setup had one and it was rusted solid just like the main one.nice job. which line goes to the pressure reducer? and where does the other one go?
since you have a key, you can shut it at the curb, and crack open the meter. how wonderful would that be in the winter?
i think your new set-up will work
Why would I shut the valve at curb off during the winter, we still use water in cold months...besides, the line g hg asn’t frozen since we lived here and it has been seriously cold.
Pressure reducer is after yet another valve down the 3/4 line. Curiously the 3/4 line goes back down to 1/2 before the reducer. While the line from the meter is 1/2 at the entry point in the house, I wonder if it would be beneficial to bring 3/4 all the way to the reducer. Or update the line from the meter, it is 3/4 or 1” at the meter.
3/4 copper goes to the pressure reducer, 1/2 blue pex goes directly to the tap outside for the garden hose. I maybe adding a valve to shut that one off separately from the rest of the house, but seems like a waste of a valve since I would have to crawl all the way down there just to shut it off. The original setup had one and it was rusted solid just like the main one.
Why would I shut the valve at curb off during the winter, we still use water in cold months...besides, the line g hg asn’t frozen since we lived here and it has been seriously cold.
Pressure reducer is after yet another valve down the 3/4 line. Curiously the 3/4 line goes back down to 1/2 before the reducer. While the line from the meter is 1/2 at the entry point in the house, I wonder if it would be beneficial to bring 3/4 all the way to the reducer. Or update the line from the meter, it is 3/4 or 1” at the meter.
if you needed to service the valve in the crawlspace again, you could disconnect the meter, and let it drip out there, rather than under the house.
if you don't have an issue with water velocity, don't mess with the line size.
i agree, the extra valve is probably a waste - unless the pex ruptures. then you are going to wish you had it. keep a 1/2" sharkbite cap or 3/4" elbow handy, just in case.
serviceguy
Well-Known Member
Yes. The plan is actually to sort out the whole setup and replace the loose pipe than runs across the crawl space with one properly secured to the floor joust and use some type shield In addition to the regular foam noodles in order to prevent a pipe rupture from soaking up the insulation. Than line to the outside may get replaced with copper as well.if you needed to service the valve in the crawlspace again, you could disconnect the meter, and let it drip out there, rather than under the house.
if you don't have an issue with water velocity, don't mess with the line size.
i agree, the extra valve is probably a waste - unless the pex ruptures. then you are going to wish you had it. keep a 1/2" sharkbite cap or 3/4" elbow handy, just in case.
rlb
Well-Known Member
Did you stick it directly to the cabinets or use the channel? UPS dropped off my second kit, I'll wire up the other side of my kitchen this weekend.
rlb
Well-Known Member
Yes. The plan is actually to sort out the whole setup and replace the loose pipe than runs across the crawl space with one properly secured to the floor joust and use some type shield In addition to the regular foam noodles in order to prevent a pipe rupture from soaking up the insulation. Than line to the outside may get replaced with copper as well.
More time in the crawlspace!
kdebello
Well-Known Member
First hitch receiver install without @Glenn Rides After 4 PM CST. Takes a bit longer than the frame rail type, but I don't have to get on my back either.
How do you like to GLI so far? That's the exact car I was looking at before my wife told me I wanted the Atlas.
one piece crank
Well-Known Member
one piece crank
Well-Known Member
Catching up on some more projects...
The task lighting in my kitchen has always been crap, just a single fluorescent fixture over each side of the kitchen. One of them finally crapped out, so I had an excuse to update. After a bit of research, I found HD had a pretty inexpensive tape light setup:
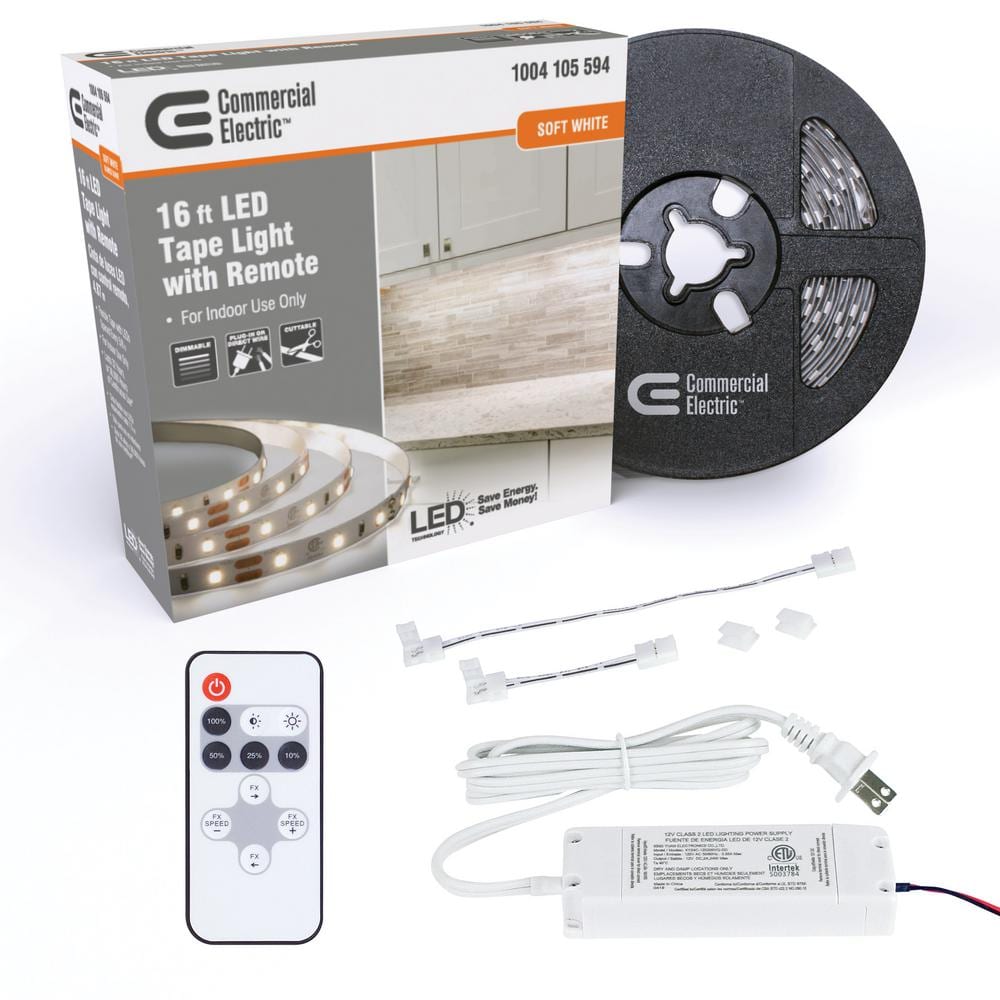
Commercial Electric 16 ft. White Indoor LED Tape Light w/remote (Plug-in or direct wire) 142130 - The Home Depot
LED strip lighting is great for indoor applications including under cabinets, accents, or any space a low profile and flexible lighting solution is needed. Dimmable with included wireless remote; RF technologywww.homedepot.com
I suspected it was manufactured by Armacost, which was confirmed when the box arrived with Armacost as the return address. I also found this Armacost channel and diffuser kit, and for an extra $25 I went for it. My cabinets are old, and the likelihood of the tape light adhesive sticking to them log term was low, so then diffuser kit solved that:
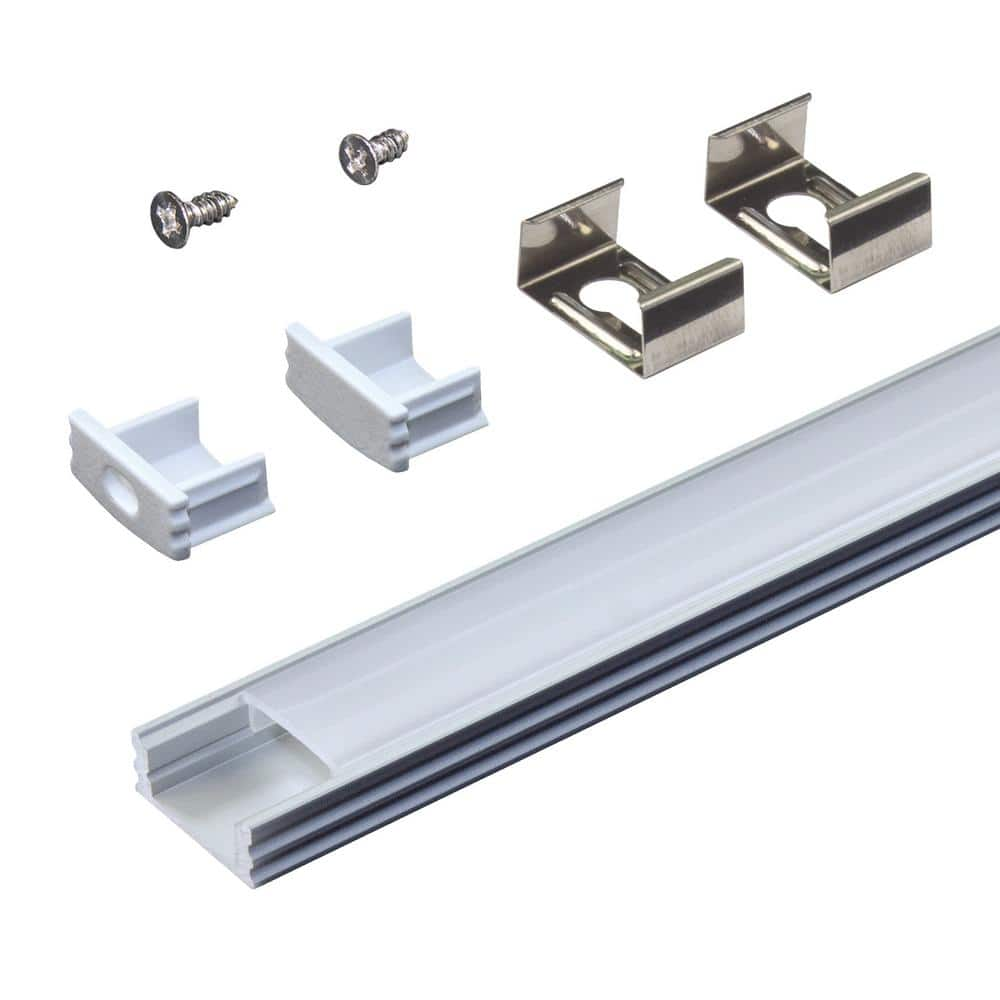
Armacost Lighting Surface Mount LED Tape Light Channel, Silver (5-Pack) 960050 - The Home Depot
The channel is made from high quality, double-anodized, aviation-grade aluminum alloy and available in 2 profiles, flat and angled. It can be fitted with the included frosted polymer cover to conceal the LEDs and diffuse the light output. The channels are useful for installations in which the...www.homedepot.com
Add some extra connectors for good measure:
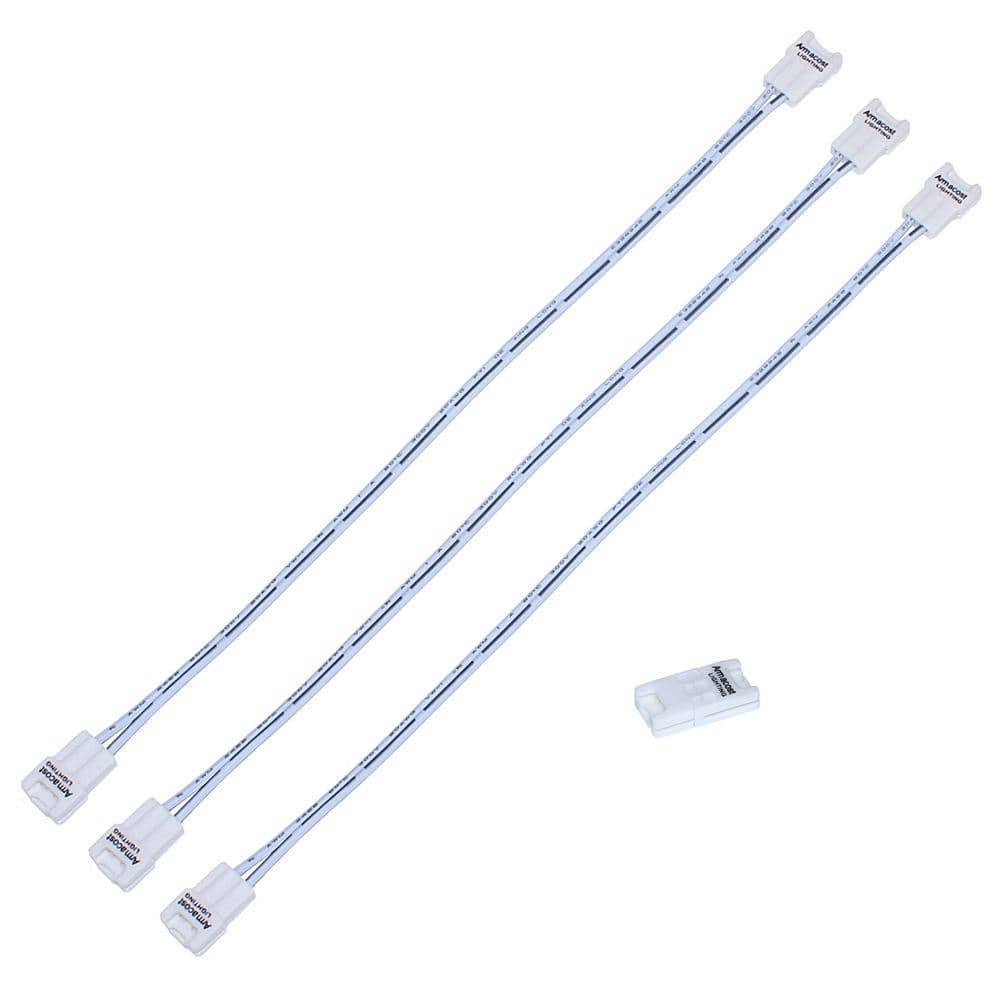
Armacost Lighting White LED Tape Light SureLock Connector Assortment Pack 560010 - The Home Depot
Professional- grade Sure-Lock connectors are a fast and easy method for making low-voltage wire connections to LED tape lighting without soldering. These connectors feature extra wide internal contactswww.homedepot.com
The install was pretty straightforward:
I was going to shorten the wire from the power supply, but I ran out of steam and just decided to zip tie it and be done. I need to get some screw in wire clips to hold the wires in place. The included stick-ons are not going to last with the amount of instant pot cooking we do.
- Measure and cut the tape, channel, and diffuser cover.
- Connect up the tape strips (I mounted 3 separate sections) using the included connectors
- Lay it all out and test
- Stick the tape to the channel
- Hand wire the power supply
- Mount it all up under the cabinets
- Manage the wires.
Light kit
View attachment 124181
Channel and diffuser kit (missing the diffuser in this pic)
View attachment 124182
How to hacksaw outdoors when your toddler is asleep
View attachment 124183
Tape in the channel
View attachment 124184
All done
View attachment 124185
I dont see the power supply plugged in? Where did you draw power?
i should note that i used the diffuser in my kitchen, but to keep a client's project "inexpensive" I just stuck them up there..

just sticking them up worked out great for the in-cabinet.

THATmanMANNY
Well-Known Member
OUT DOOR FURNITURE COVERS
anyone using a brand/model of covers that is 100% waterproof
Got some outdoor seating with cushions and would rather just cover them then store the cushions
anyone using a brand/model of covers that is 100% waterproof
Got some outdoor seating with cushions and would rather just cover them then store the cushions
olegbabich
Well-Known Member
OUT DOOR FURNITURE COVERS
anyone using a brand/model of covers that is 100% waterproof
Got some outdoor seating with cushions and would rather just cover them then store the cushions
Sunmart on Amazon for Chaise Chair.
Amazon.com : SUNMART 2 Premium Patio Chaise Covers - Protect Your Furniture from UV Mildew Mold Water Damage with Easy Peel and Secure Fasteners - Value Pack 84" Lx30 W Grey : Garden & Outdoor
Amazon.com : SUNMART 2 Premium Patio Chaise Covers - Protect Your Furniture from UV Mildew Mold Water Damage with Easy Peel and Secure Fasteners - Value Pack 84" Lx30 W Grey : Garden & Outdoor
www.amazon.com
Karate Monkey
Well-Known Member
OUT DOOR FURNITURE COVERS
anyone using a brand/model of covers that is 100% waterproof
Got some outdoor seating with cushions and would rather just cover them then store the cushions
The mold loves that. Ask me how I know.
THATmanMANNY
Well-Known Member
@Karate Monkey how do you know?
Do you mean the mold loves covers or the cushions when they are covered?
We will probably store them in the winter and mostly uncovered during the nice weather spring thru fall. Plus, going to treat them with 3m outdoor scotchgard
Do you mean the mold loves covers or the cushions when they are covered?
We will probably store them in the winter and mostly uncovered during the nice weather spring thru fall. Plus, going to treat them with 3m outdoor scotchgard
Karate Monkey
Well-Known Member
On humid days, it turns out into a dark, moist hothouse. We got an outdoor bin to store the cushions in...worked better for us.
Not sure, but I think they make chair covers- Ravenna brand on Amazon.OUT DOOR FURNITURE COVERS
anyone using a brand/model of covers that is 100% waterproof
Got some outdoor seating with cushions and would rather just cover them then store the cushions
I’ve gotten a few grill/smoker covers and great quality and price.
Got fed up with the squeal of the sliding patio door.
It was the weatherstripping riding on the wood.
What is wood friendly and won’t degrade plastic/rubber?
Puzzled on this for a bit, and it came to me this morning

EVOO for the win!
(Maybe cross post in cooking thread?)
It was the weatherstripping riding on the wood.
What is wood friendly and won’t degrade plastic/rubber?
Puzzled on this for a bit, and it came to me this morning
EVOO for the win!
(Maybe cross post in cooking thread?)
olegbabich
Well-Known Member
The mold loves that. Ask me how I know.
We have the covers in my post foe 2 years. No mold and all good.
JDurk
Well-Known Member
Also great for lubricating sticky nipples on water bottles.Got fed up with the squeal of the sliding patio door.
It was the weatherstripping riding on the wood.
What is wood friendly and won’t degrade plastic/rubber?
Puzzled on this for a bit, and it came to me this morning
View attachment 124999
EVOO for the win!
(Maybe cross post in cooking thread?)