The DIY thread - DIYourself

rick81721

Lothar
Some how i managed to get it all back together today except for the wheel house trim which i will put on after paint. So paint is all i have left...and a windshield but that, i'll have a professional do. :D

Nice job Mike - and even the gaps are even!
 

ebarker9

Well-Known Member
One comment on the ductwork is that, I believe, that the rotating joints in duct elbows are also supposed to be sealed with foil tape or mastic. Probably just about impossible in some of the tight installs, but they're not close to being airtight on their own. I confirmed this with a recent bathroom exhaust duct install. Still, looks good.

I'll have to post some questions about my bathroom vanity light install. Electrical work is definitely where I'm the least comfortable...too many unknowns regarding how things might be connected inside the walls.
 

rlb

Well-Known Member
Thanks for the tip on the elbows. I think I can get most of the joints taped up actually. I'm hoping to eliminate them completely when I install a new roof cap, so if I can't tape all of them up I guess it's not the end of the world. If it was intended to stay like that for years I'd be worried, but the attic is well ventilated so if I'm losing a bit of air up there for a few months I don't think it will wreak havoc. Hopefully :D
 

olegbabich

Well-Known Member
Motorcycle Maintenance:

Front forks removed, Seals and Races replaced, new springs, new fluid and Cartage Valve installed.
Steering bearings repacked.
Mono-shock rebuild with new valve stack and new spring. I will put Air in instead of Nitrogen with Shock Pump.
Swing arm removed and all of the Needle Bearing repacked.

Tomorrow I will adjust the Tappet Valves and put the bike back together.

I love basic and simple machinery that is reliable and easy to work on.:)

Might even have enough time to get a short ride in.:hmmm:
 

Attachments

  • IMG_0796[1].JPG
    IMG_0796[1].JPG
    151 KB · Views: 44
  • IMG_0797[1].JPG
    IMG_0797[1].JPG
    104.9 KB · Views: 39
  • IMG_0798[1].JPG
    IMG_0798[1].JPG
    130.7 KB · Views: 38
Last edited:

ktmrider

Well-Known Member
We always wrap our ducts in insulation or we use flexible insulated ducting so there are no issues down the road when warm air meets cold, that helps prevent condensation .
 

rlb

Well-Known Member
I love basic and simple machinery that is reliable and easy to work on.:)

Bring back carbs and pushrod engines!

We always wrap our ducts in insulation or we use flexible insulated ducting so there are no issues down the road when warm air meets cold, that helps prevent condensation .

Thanks for the tip, will do this for my permanent install.
 

rlb

Well-Known Member
It was a relatively slow weekend. Got my electrical mess sorted out and replaced the sheetrock behind the stove, so now I have a solid wall to tile my backsplash.

I picked up the traveling wetsaw from the Pearls. I was hoping to tile today but according to the thinset instructions you need to maintain an ambient temp between 55 and 100 for 72 hours. Since I'm roasting a turkey tomorrow I figured it would be safer to wait. So, I'll try my hand at tiling on Thursday. Should be a fun experiment...

20131222_192129.jpg
 

Patrick

Overthinking the draft from the basement already
Staff member
Liking the look.

That shelf above the sink is interesting (at least it looks like the sink to the right)

Did you purchase a termination strip for the left side of the tile, or are you going to use a line of bullnose?

it is going to be tricky with the switch.
Maybe run the tile right to the molding and user a termination strip top/bottom?
 
Last edited:

Pearl

THIS CHANGES EVERYTHING
i was going to give you a crash course on how to operate it as well, but you were late!
 

ktmrider

Well-Known Member
tile looks good . tack a 1x2 cleet to the wall behind the stove so it will hold up the tiles while drying . We normally lay it out on scrap plywood and do all our cuts this way all you do is install and your not trying to install & cut.
 

rlb

Well-Known Member
Liking the look.

That shelf above the sink is interesting (at least it looks like the sink to the right)

Did you purchase a termination strip for the left side of the tile, or are you going to use a line of bullnose?

it is going to be tricky with the switch.
Maybe run the tile right to the molding and user a termination strip top/bottom?

Yeah that's above the sink. It's handy actually, it's a place to put things that will eventually fall into the disposal (like my wife's rings). I think I'm getting a termination strip (not sure of the name). I need to run to the store and get the pieces because I didn't plan to pull the tile off that far to begin with. And yeah, the switch is going to be tricky for sure....Will make it interesting.

i was going to give you a crash course on how to operate it as well, but you were late!

Who needs a crash course....fingers in front of the blade right?

tile looks good . tack a 1x2 cleet to the wall behind the stove so it will hold up the tiles while drying . We normally lay it out on scrap plywood and do all our cuts this way all you do is install and your not trying to install & cut.

Yeah looks good right now, that's someone else's work though so I need to try and match up to it. I don't think the people doing this kitchen work before me were very skilled, so I have faith in myself. I still have the old cleet that I pulled off the wall before removing the existing tile that was there.

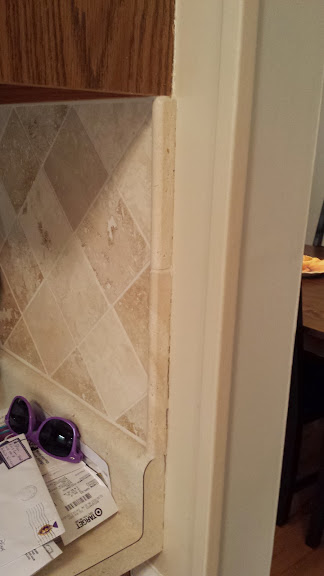
This it the same kind of edge that I pulled (pic from other side of kitchen)
20131223_212427.jpg
 

don

Well-Known Member
Some nice looking house work shown. I keep it to the garage and my vehicle save for small jobs as I don't want to mess things up in my house.

Here are a couple of pics of my Defender rebuild that will take a while. Hoping to have a rolling chassis by the end of January and the motor/tranny/xfer case in end of Feb. Already lots of hours on the rear axle. I won't bore with specifics unless you are a total gear head and want them.


ImageUploadedByTapatalk1387912245.304448.jpgImageUploadedByTapatalk1387912261.030590.jpg
 

don

Well-Known Member
Hey, I'm reading! Post details! Our better yet a whole build thread

Word, I like cars! I just don't own any fun ones.

I like Defenders:D

Sorry it's been a long time since I was on last. Holidays then was up in VT.

Specs on the pics:
- LR Defender 110 Galvanized frame made by Marshland
- LR Discovery 1 axle housing, modified to fit a Toyota E-Locker 3rd member, 4.11 gearing
- LR OEM HD springs
- RoverTracks HD trailing arms
- RoverTracks HD axle shafts (stock LR is 24spline these are 30 spline)
- EBC slotted/dimpled rotors (I know flat/stock is probably better) and EBC greens
- New ball joint and bushings in the upper arms, they were also painted with Eastwood Chassis Black Extreme.
- Axle was painted using POR-15 then top coated with their Chassis Black
- RTE Fab shock mounts -- upper and lower. Bought used and repainted using Eastwood CBE.
- ordering Fox Emulsion 2.0 for the shocks soon.
- LR Discovery Steel rims with Goodyear MTR/Kevlar 315/75/16 (35" tires).

Overall build: rebuild an '86 that I had imported this past summer. Frame is ratty so I'm just going to do it correctly. I had those HD axles on my NAS 90 and pulled them off before I sold it. It's powered by a 2.5 NA diesel but I am looking to update to a Merc OM617 300TD. My plan is to refurb the running gear but keep the body as is with the dents and scratches and shitty paint. Interior will be done over as well.

Add on:
I am hoping my end result will be something like this: http://www.copleymotorcars.com/?showroom=1994-land-rover-defender-110-convertible-2

Softtop and caged like the one above but way more off-road capable and forward facing seating (using 3 point belts)
 
Last edited:

don

Well-Known Member
ImageUploadedByTapatalk1391394872.319481.jpg

Got the chassis to roll this weekend. Needed to flip it around so it was facing forward into the garage so I can hopefully get the motor/gearbox/transfer case popped on it soon.

Front axle was a bear to put together!
 

mandi

Well-Known Member
Time to add to this thread. After posting updates in my little blog, I never get around to adding them here. Sorry for the large pictures but I'm too lazy to resize them, and I'm at work. Double excuse. http://littlehouseofpearls.wordpress.com/

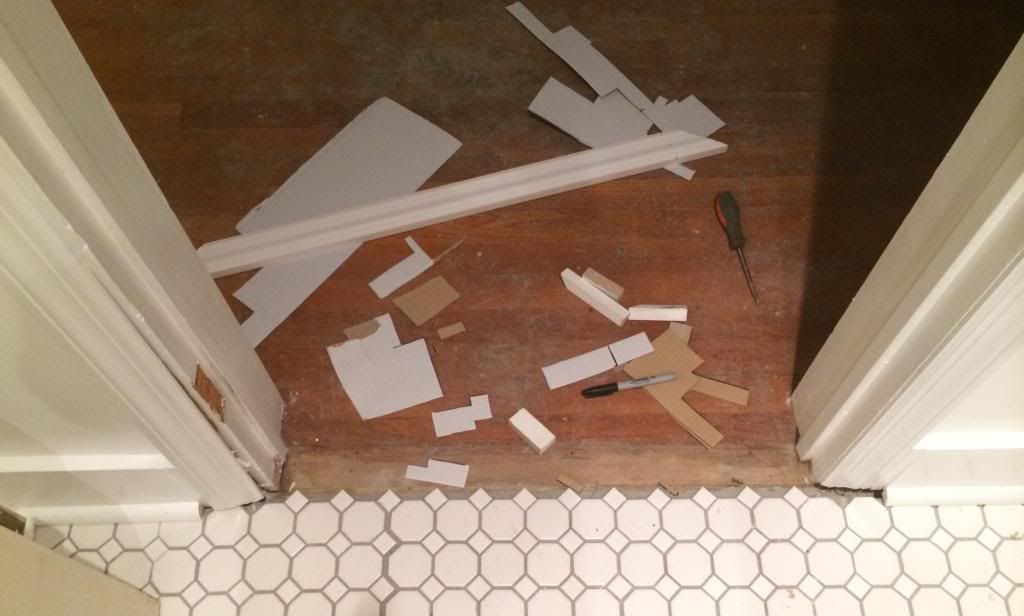
Last night I made the transition piece for the bathroom which went from this:


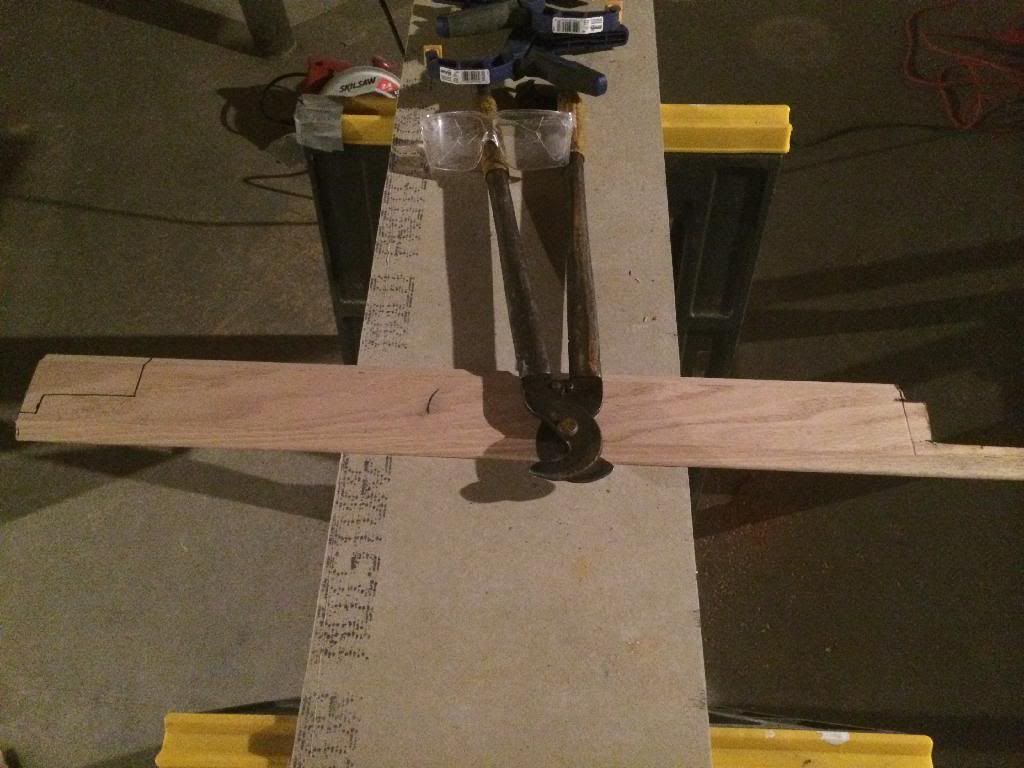
to this:


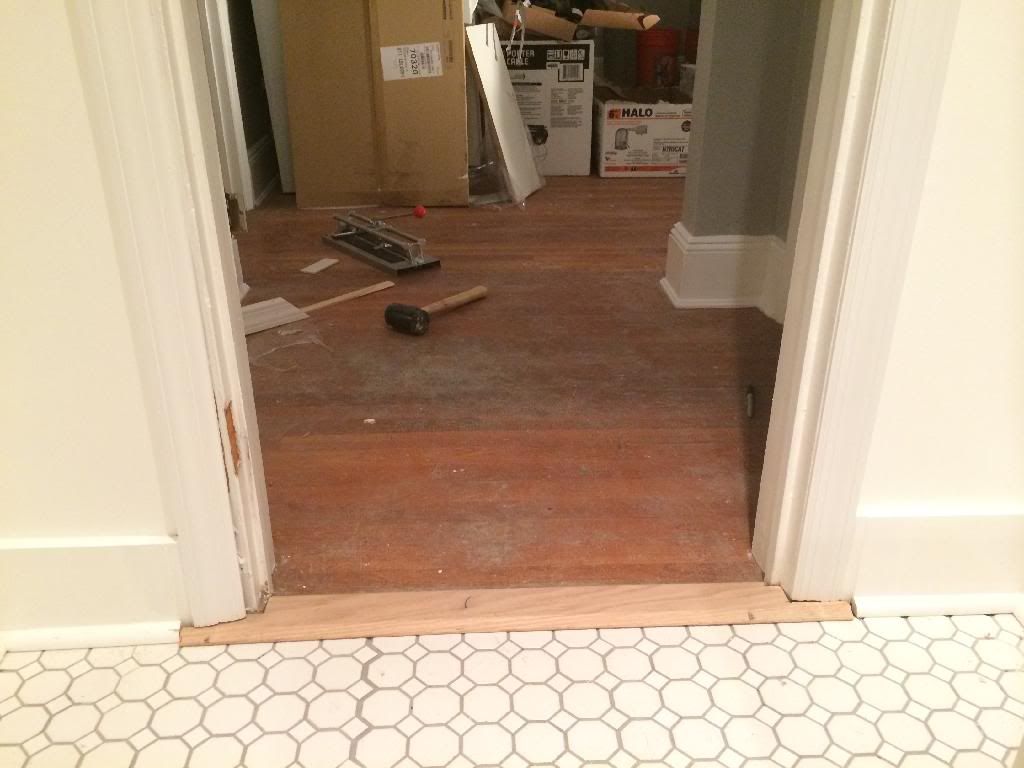
to this:


Holla atcha girl.
 
Top Bottom